Wood Floor Refinishing and Floor Sanding
We take great care in our sanding services and wood floor refinishing
Sanding Wood Floors
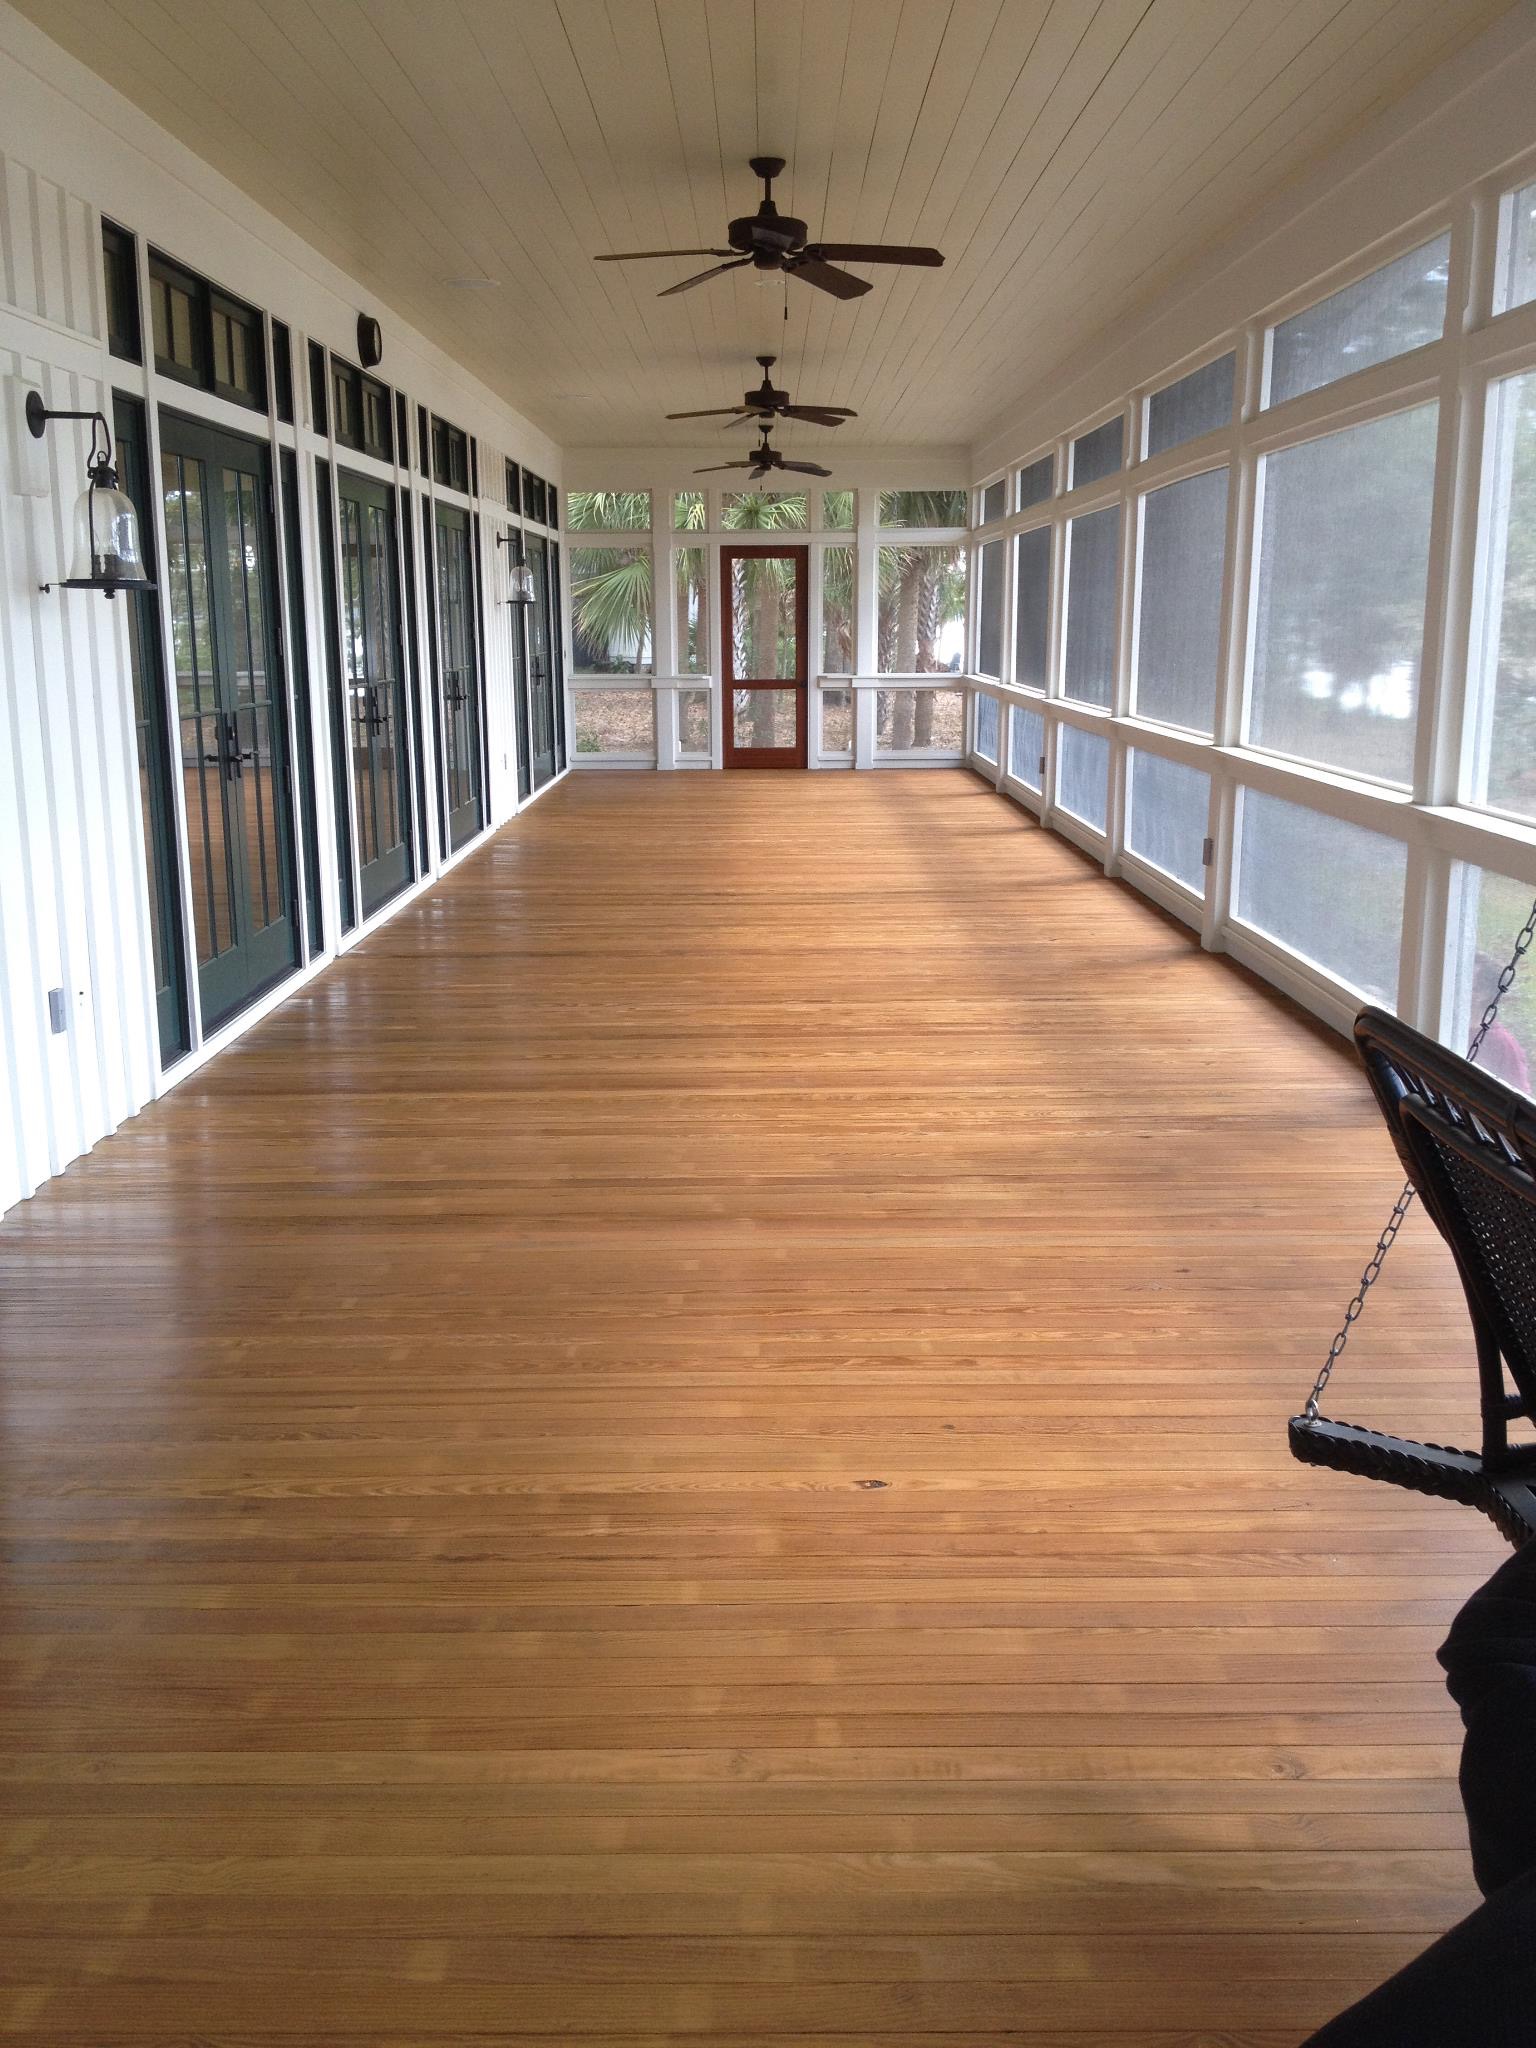
Many homes, both new and old, are equipped with hardwood floors throughout many rooms of the house. As more homeowners follow the trend of restoring old homes, our hardwood floor refinishing service in Beaufort, Bluffton, and Hilton Head is becoming more crucial to restoring the luster of the wood.. Hardwood floors provide any home or commercial location with years of low maintenance beauty, yet they are relatively affordable and easy to renew. With our low prices, hardwood floor refinishing with Specialty Flooring is one of the most affordable renewal options in the area. Additionally, your property can increase in value and you’ll save thousands by investing in our refinishing process instead of totally replacing the wood floors. With service available in Beaufort, bluffton, Hilton head, and surrounding communities, we are sure to have you covered.
Hardwood Floor Refinishing Process
STEP 1: Remove Carpet
We use a putty knife to scrape bonded pads, like carpet, away from the floor. We take care to follow the grain of the wood and avoid and scratching or gouging as we scrape. We use a chemical solvent can to speed the process and we remove the left over carpet staples by hand. Once existing flooring materials have been cleared, the hardwood floor refinishing can begin.

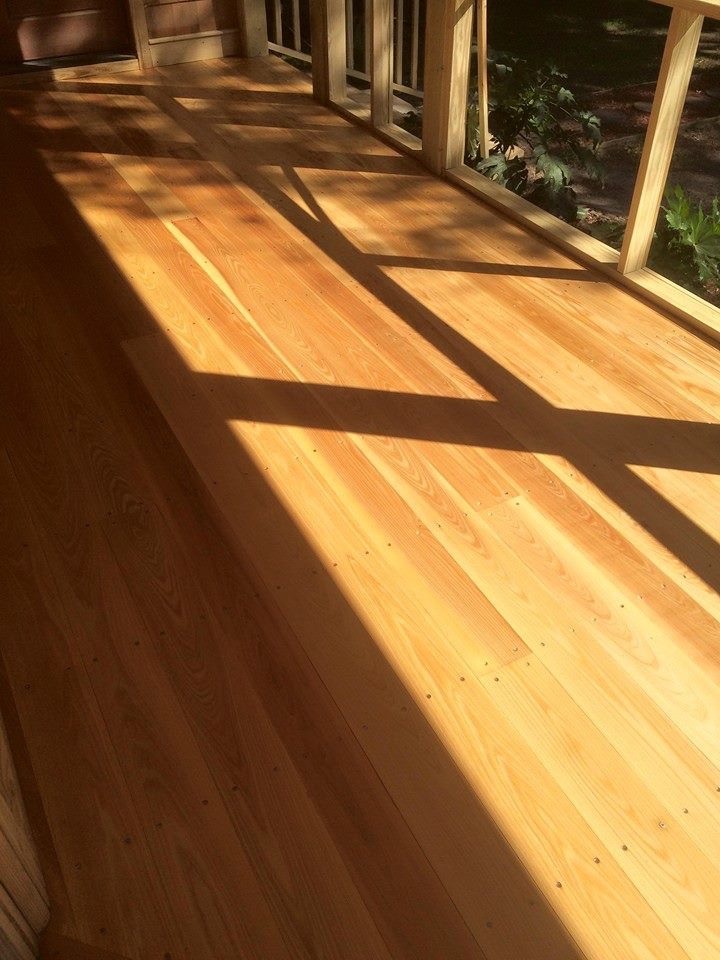
STEP 2: Sanding
Our dustless sanding process ensures that only a fractional amount of dust is created as we prepare your floors for staining. We start sanding with the coarsest grit of sandpaper and perform three passes, using a finer grit each time. We are careful to move with the grain of the wood as much as possible and keep the sander moving at a steady pace to avoid uneven patches. We do the sanding by hand, using the same progression of coarse to fine sandpaper described above, because often times the corners are over sanded from the sander passing over them too many times. Once the floors have been sanded three times, they are ready to be prepared for staining.

STEP 3: Staining
After selecting a stain color of your choice, we apply the stain in one of many ways to achieve the desired color and look you are going for. We then use a tack cloth to clear away dust and debris, and the floors will be ready for their first coat of polyurethane finish.
STEP 4: Finishing
We apply the polyurethane finish using a mop-like tool or a pad applicator. Once the recommended drying time has elapsed we repeat the above process twice more, making three coats of polyurethane in all. The hardwood floor refinishing project is finally complete once your floors have been drying for a full 24 hours. Your floors will once again have a beautiful luster and will be ready to handle the regular traffic and daily demands that are expected of them.
Whether you are considering refinishing hardwood floors for your home, office or other commercial space, we have the process and solutions to get the job done right. Our aim is to exceed even the highest of expectations – and that is exactly what we do.
All floors are finished with either 3 coats or commercial oil based polyurethane, or a waterborne finish. Waterbase has a low odor and can typically speed up the finishing process. Oil base typically can only be applied once in a 24 hour time period with screening in between to smooth the surface before re applying poly. Remember, no job is too small or too large at Specialty Flooring. Give us a call, send us an email, or stop by our showroom on Okatie Highway!
Additional Services
We offer incredible wood floor sanding and floor refinishing services.
Dustless Sanding & Finishing
If you would like to have your hardwood floors refinished, but are afraid of the dust and mess, call us! Specialty flooring uses BONA ATOMIC TRAILER DUST-FREE HARDWOOD REFINISHING .
Our revolutionary process makes your hardwood floors look new again! Our trailer-mounted refinishing system evacuates all the debris out of your home and back to ourtrailer instantly for disposal at our site. Because this process is 99% DUST-FREE, it eliminates the need to have your duct-work cleaned. There is no debris to settle in the attic space or in closets and cabinets. You won’t have to wash walls or have upholstery and carpeted areas cleaned!
Because there is no debris in your home, this process makes for a debris-free finish. (This excludes debris which may already exist in the house such as, dirt and dust from other areas, pet hair and particulates in your duct-work.)
We offer your choice of Bona and dura seal stains and finishes, made expressly for the flooring refinishing industry. In most cases, you don’t even have to leave your home during the process. With our quick dry times, you are back to living in your beautiful home in no time!
Call us today for your FREE in-home estimate!

Individual Board Repairs
Our professionals also do individual board repairs. If you have a floor that you had installed already and there are worn areas, damaged boards, or popping areas, we can come in and isolate the area and complete individual repairs.
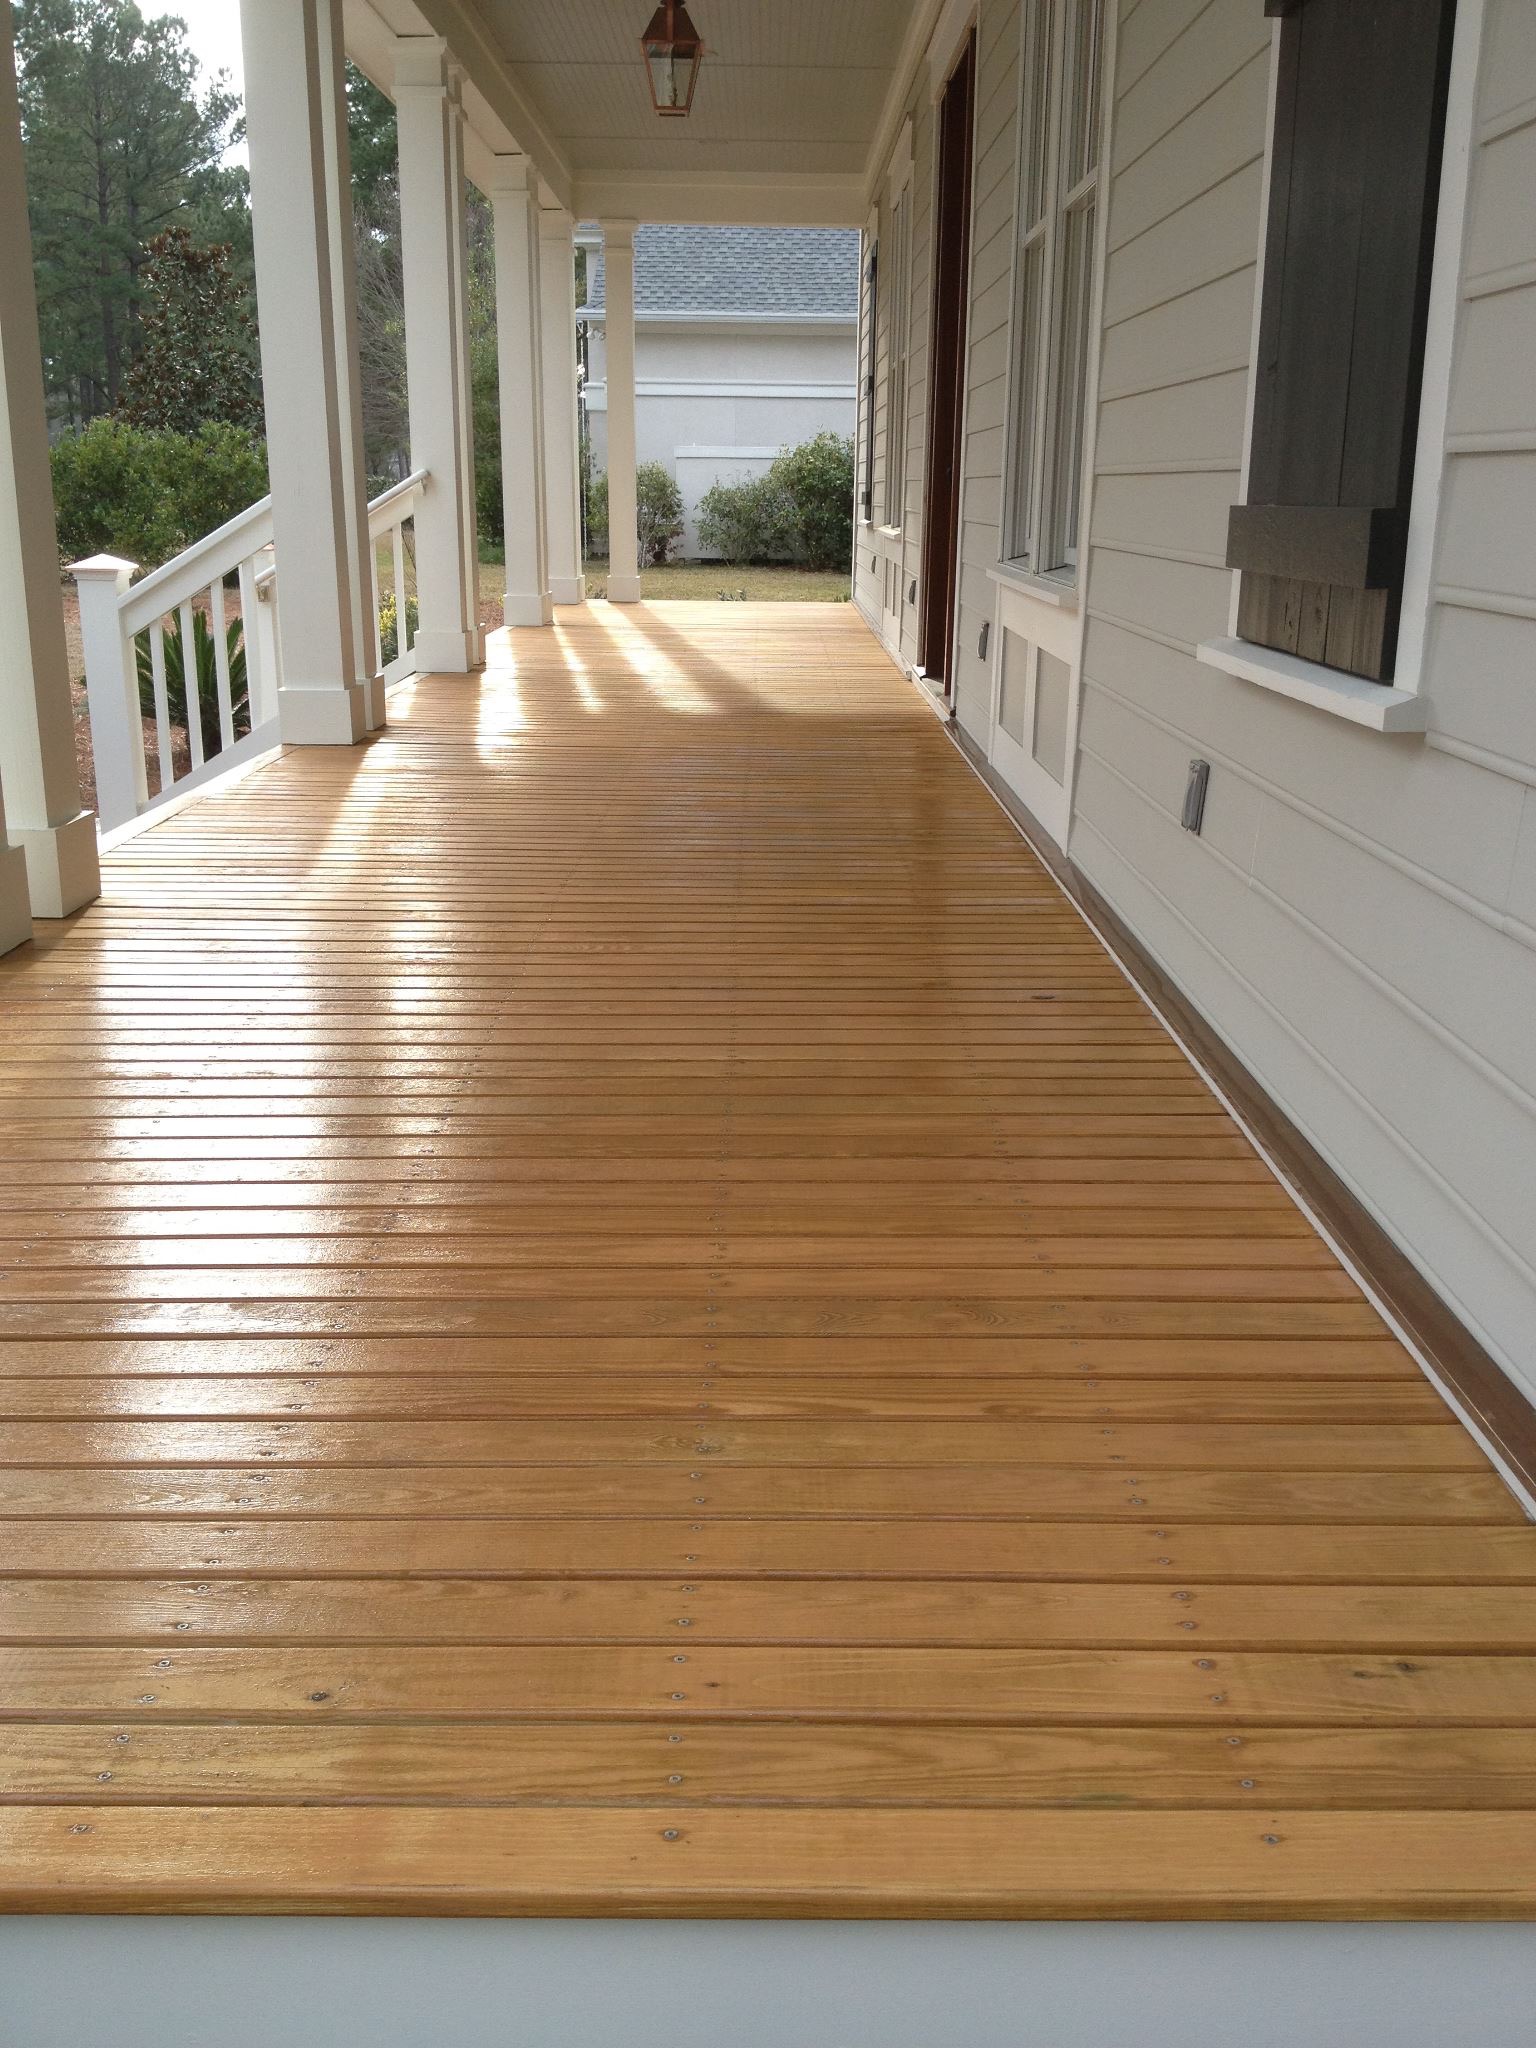
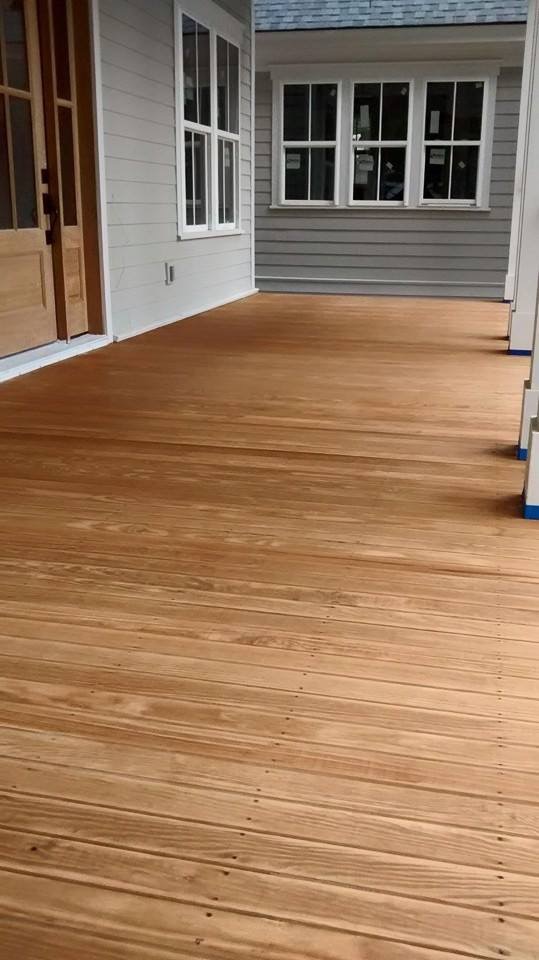
Deck Refinishing
We remove the existing finish by completely sanding the surface of the decks, and apply new stain or sealer.
Recoating Wood Floors
What is a screen and recoat?
Screening and buffing are the same thing. They are synonyms for each other, and both mean that you “scuff up” or abrade the floor, and then you apply a coat of polyurethane for protection and sheen. Screening is often called buffing, since the screening is done with a buffer. Screening both smooths the floors a bit, and the abrasive action allows the polyurethane to adhere to the surface better. The screen and recoat process can restore the glow of the floors and give them a refreshed look.
Some customers call this a “light sanding,” but technically, it’s a screen and recoat since you are not sanding the wood, but rather are just sanding the top layer of polyurethane. Other customer refer to this as “adding a top coat” or a “buff and coat.”
When you screen and recoat hardwood floors, you have the options of changing the gloss level of the finish. So, if your floors are too glossy and you want more of a satin look you can do that (or vice versa).
Screening (or buffing) will not address deep scratches or changes in color. If you have a stain on the floor and scratches that have penetrated down to the raw wood, the screening will not help with this. It is simply adding on a coat of clear protection on the floors
Screening will save you money, labor and time. Not only will a screen and recoat help refresh your floors, but it will also postpone the need for a complete sanding and refinishing later.
When will screening NOT work?
- Screening will not work on waxed floors as it can not adhere properly to the surface. Also, it will not work well if you have used products that have wax in them (e.g. mop and glo or orange glo).
- If the floors have worn down past the color (and/or you have portions of the floors that are gray from oxidation), screening is not the right process. Instead, it’s time for a full sand and refinish.
- If you want to change the color of your floors. In order to change the color of your floors, you need to sand the floors completely down to the raw hardwood and then apply the stain.
- If you have gray patches on the floor, it’s too late for a screening
- A screening will not address UV discoloration under area rugs
How does screening work?
Unlike sanding and refinishing , screening just scuffs up the floor and is relatively clean. It is a faster, and hence less expensive process as well. After the floors are screened, we then apply 1 coat of polyurethane – either oil based or water based polyurethane can be used. The buffer has a mesh that is embedded with abrasive particles – just enough to allow proper bonding for the new coat of poly. It is basically the last step of the sanding process.
Typically, for a screen and recoat, you add one coat of poly, but if you’d like even extra protection, you can add on 2 coats. You would screen before each coat.
Screening is generally a 1 day process (or 2 days if you opt for 2 coats). Just like sanding and refinishing, all the furniture needs to be moved. There is some drying time involved as well – usually 24 hrs before you can walk on it and a few more days before you can move furniture back.
How long does a screen and recoat take?
Generally, a screen and recoat can be done in 1 day and it needs to dry for 24 hours. It depends on the area to be done, but often the work can be done in a few hours. An oil based polyurethane will take 24 hrs to dry, and a water based poly will usually dry in 4 hrs. All furniture and items must be moved off the floor. With an oil based poly, it’s advisable to wait 4 days before putting furniture back; for water based poly, you only need to wait 2 days. It’s ideal to wait 30 days before putting area rugs back so that the floors fully cure.
Screening is great maintenance plan for your floor
Screening can help prolong the length of time between full sandings. Over time, the top protective layer of finish will wear down. This leaves the wood more vulnerable to scratches and spills, and the lustre becomes more dull. The key is do a screen and recoat before your floors get badly scratched up. Once the scratches have gone through the color, it’s often too late. How often should you screen your floors? Well this depends on how much traffic your floors get and whether or not you wear shoes. But, as a general rule of thumb, if you screen every 3 years or so, you can avoid a full sanding for a very long time.
Recoat Your Hardwood Floor: New Scientific Developments
These failures changed dramatically, when some major coatings manufacturers set out to solve the problems. They determined first that removing dirt, grime and other surface contaminants worked best with liquid cleaners and scrubbing pads. They developed environmentally responsible cleaners, auto-scrubbers, synthetic scrubbing pads. Suddenly the risk factors in recoating your hardwood floor evaporated. A process that sent clouds of dust throughout the home was transformed into a spotlessly clean procedure. The manufacturers instructed flooring contractors in how to detect waxes and other products that could throw a monkey wrench into the works. Then they took it one step further: They introduced bonding agents that helped ensure proper adhesion to the old finish. The haphazard nature of screen and recoat has been replaced by a reliable, clean and sound option for restoring old wood floors. This is 21st century recoating at its best!
Okay, you now have the information to make an informed decision. Performed correctly, recoating your hardwood floor restores color, adds protection, is fast, clean, environmentally responsible, and it saves your old floors from a total re-sanding.
Whether you are getting the house ready to sell, purchasing an older home, empty-nesters with the chance to upgrade the house or just tired of your dull lifeless floors, recoating is probably the answer.
